Mastering Noise Reduction for Shutterstock Images: A Photographer's Guide
Photoshop Noise Reduction for Shutterstock
As a freelance photographer, I understand the critical importance of delivering high-quality images to stock platforms like Shutterstock. One common hurdle is image noise, which can often lead to rejection.
In this guide, I'll walk you through the best noise reduction technique using Photoshop, ensuring your submissions stand out for their clarity and quality.
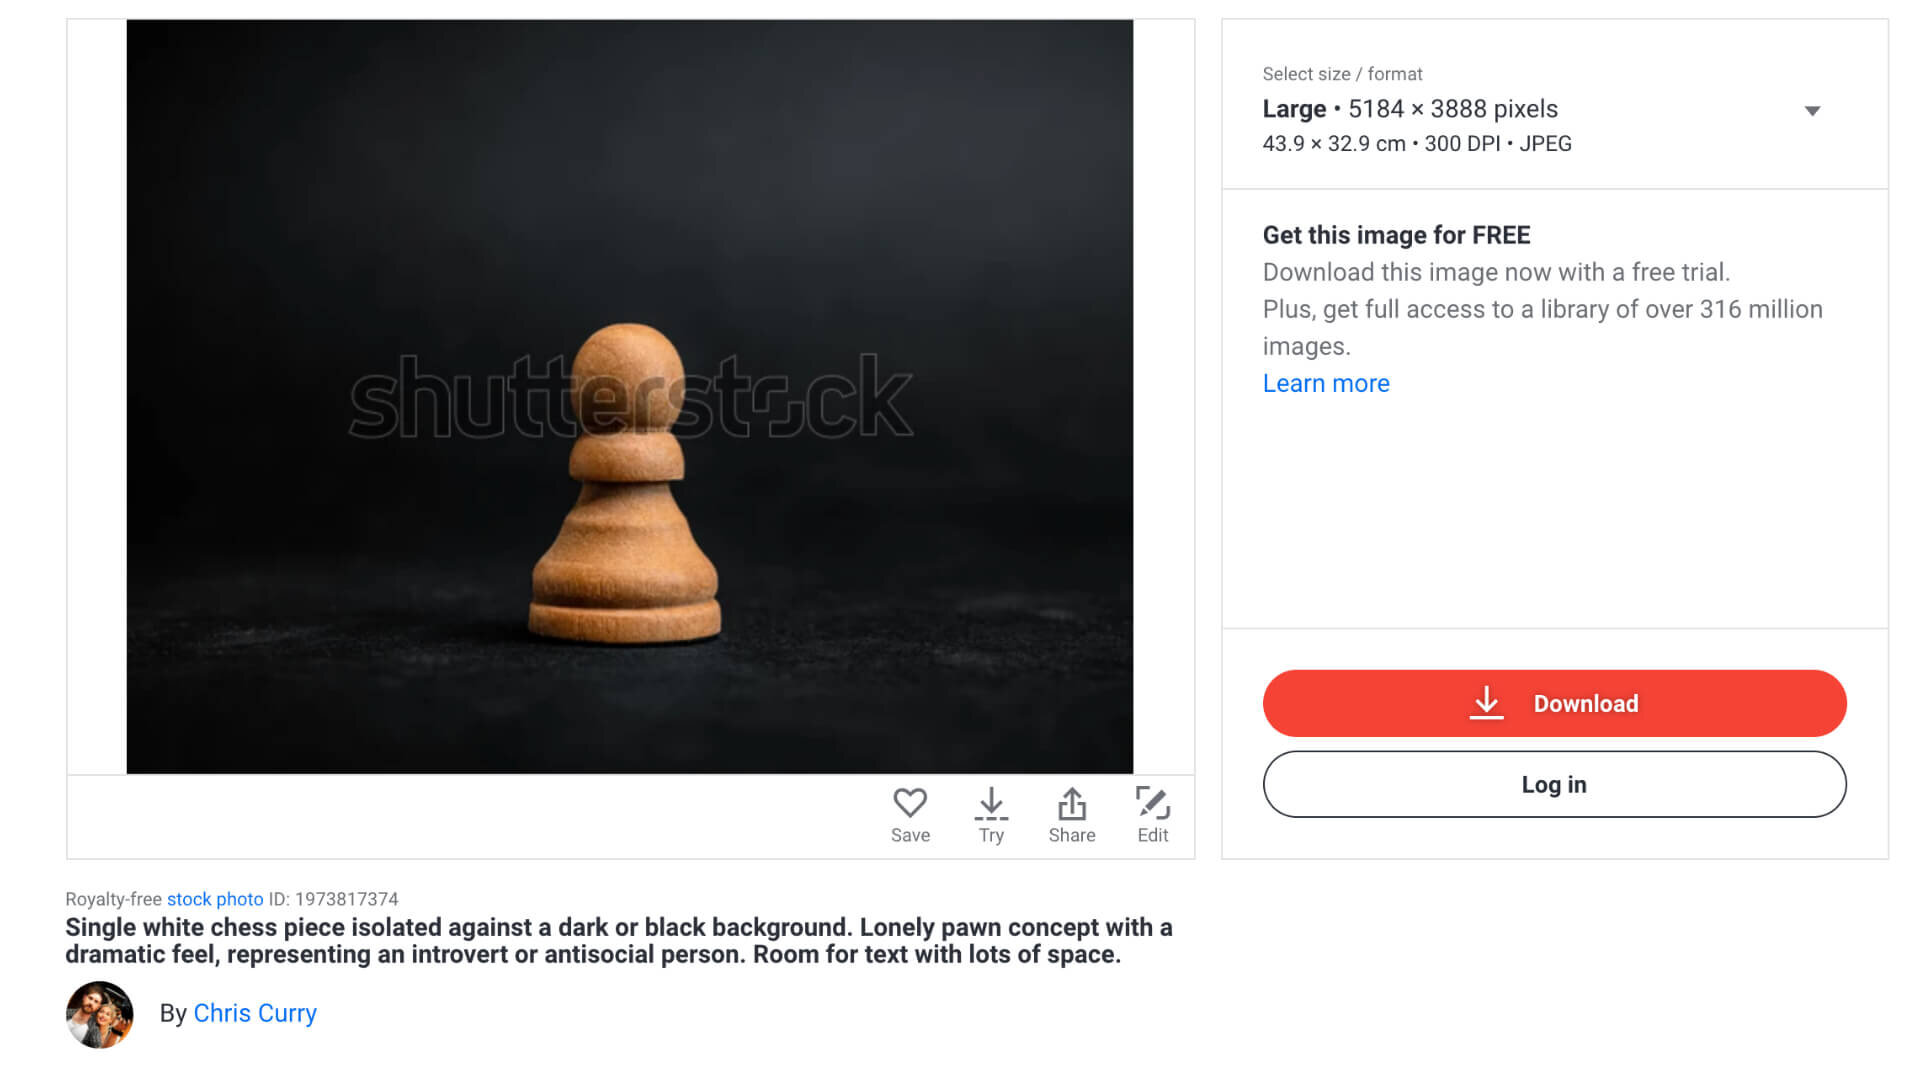
During a recent project, I photographed a chess piece against a dark backdrop — a setting notorious for unwanted noise. This scenario is typical for stock photography, where even minimal noise can be a dealbreaker.
Seamless Workflow from Lightroom to Photoshop
If you begin your editing process in Lightroom, simply right-click on your image, choose 'edit in,' and then select 'edit in Photoshop' to transition smoothly for more detailed editing. This seamless workflow is essential for preserving the subject's integrity while effectively eliminating any background distractions, ensuring a clean, distraction-free final image.
Precision Editing with Photoshop
Once you're in Photoshop, the first step is to duplicate your original layer to preserve the original image. You can do this quickly by pressing Command + J on a Mac or Control + J on Windows. This duplicated layer will be the one you work on, ensuring that your original remains unchanged.
Next, you'll want to isolate the chess piece from the background since we aim to apply noise reduction to the background only, keeping the subject sharp. To do this efficiently, use the Quick Selection tool. You can access it by pressing W on your keyboard. With the tool active, click on the 'Select Subject' button in the options bar. Photoshop's AI will analyse your image and make a selection around the chess piece. It's okay if the selection isn't perfect at this stage, as the goal is to separate the subject from the background for targeted noise reduction.
Apply a layer mask by clicking this small button in the bottom right.
Now, with two layers in your workspace — the subject and the background — you're positioned to move forward. However, there's a crucial step before proceeding with noise reduction. Skipping this could increase the chances of your image being rejected by Shutterstock.
Given that this image was shot at f/5, sharpness should be concentrated within a specific depth of field. To maintain realism and texture, it's essential to reintroduce some of the surface details that may have been lost. Select the brush tool, and gently paint over the areas in focus to subtly restore clarity and texture. This careful touch ensures that your subject retains its natural detail against the smoothed background.
Noise Reduction with Camera RAW Filter
With your background layer active, it's time to initiate the Camera Raw filter. For Mac users, the shortcut is Command + Shift + A, and for Windows, it's Control + Shift + A. Alternatively, navigate to the 'Filter' menu at the top of your screen and select 'Camera Raw Filter' from the dropdown.
Once inside the Camera Raw editor, locate and expand the 'Detail' panel. Here, you'll adjust the 'Luminance' setting to 100. This action smoothens the entire layer, softening details to the point where they may appear almost plastic-like — an effect that's particularly useful for a uniformly smooth background. By maximising the luminance, you effectively strip away all the noise, leaving you with a pristine backdrop free from any graininess.
And that's it! The final step is to ensure that your main subject layer is positioned above the noise-free background layer. This arrangement preserves the intricate details of your subject while presenting a flawlessly smooth background.
Take a moment to admire the stark contrast between the 'before' and 'after' versions of your image — a clear testament to the effectiveness of your editing.
Final edited Image
The edited image is now live on Shutterstock, ready for download. I'm pleased to share that it was approved immediately — a nod to the quality of the editing process.
I hope you find this guide useful. Should you have any queries or require further clarification, please don't hesitate to drop your questions in the comments section below. I'm here to help!


