How to Add Motion Blur in Photoshop: Step-by-Step Tutorial
Introduction to Motion Blur
In this blog post, I will walk you through my process for adding motion blur in Photoshop. This easy effect to add can really transform a generic image to something much more dynamic.
To show you how motion blur works, we are going to recreate those iconic train shots where the train appears to be moving while the subject remains still in the background, like these examples.
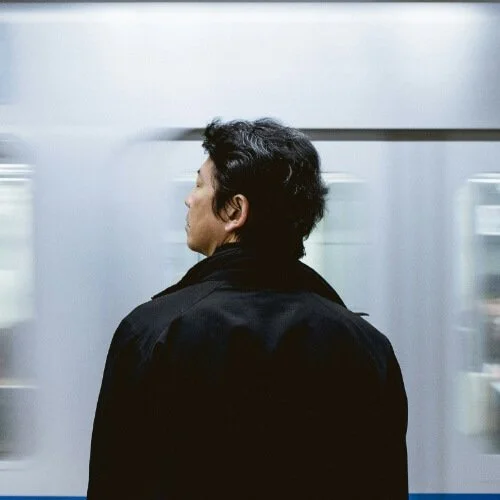
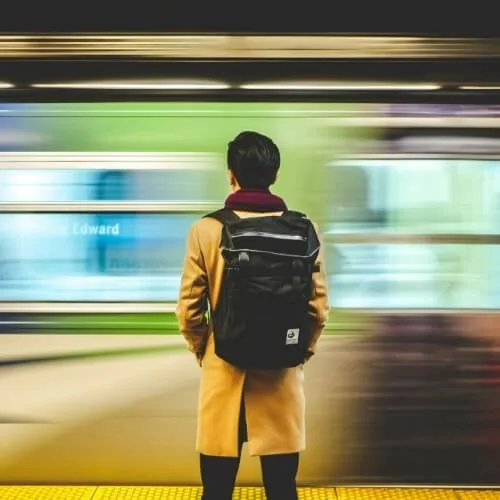
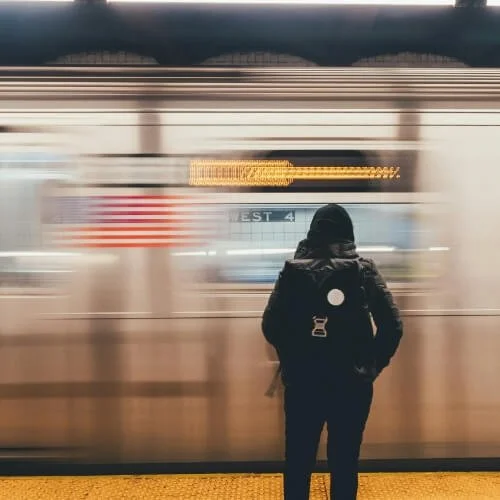

Yes you can capture this in camera, but that requires a tripod, an empty station and your subject needs to be standing still.
Follow along with me
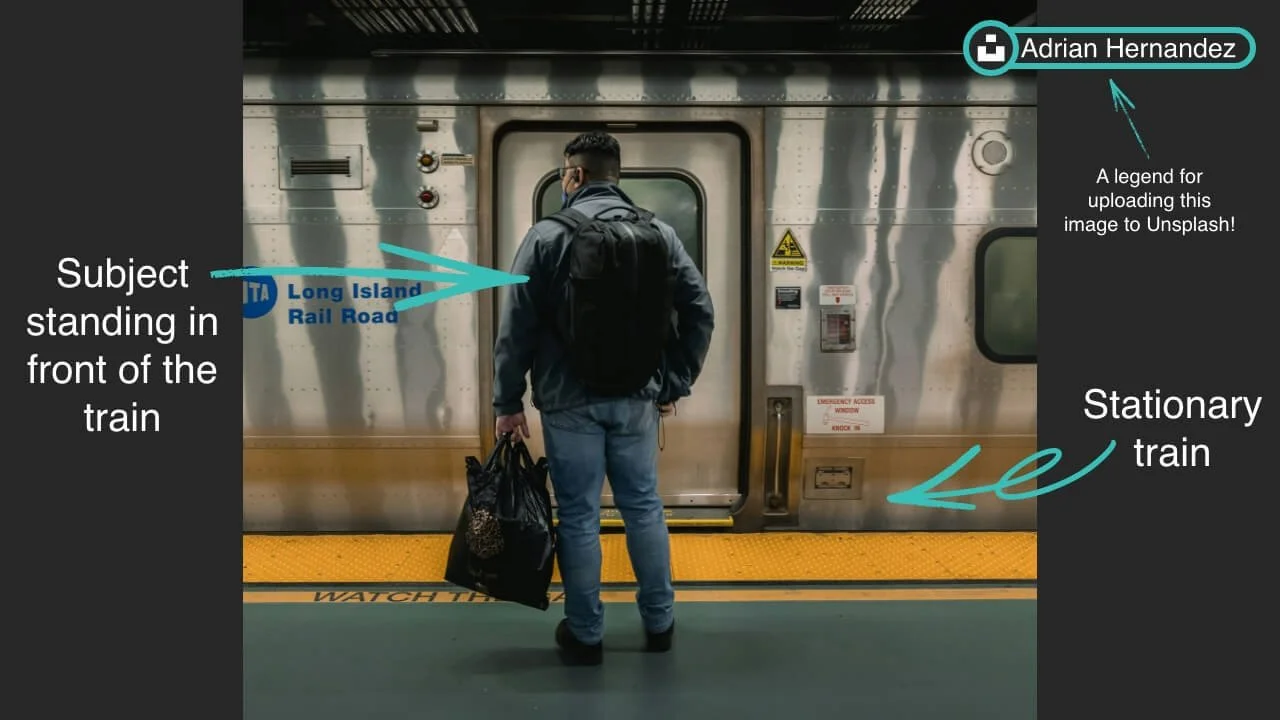
Here’s the image that we are going to be working with, which you can download here via Unsplash if you want to have a go yourself.
Please note: for this tutorial, I am using the 2024 version of Photoshop.
Let’s dive right in!
Step 1: Separate the Subject from the Background
To achieve this effect, we need to start by separating our subject from the background. Thanks to Photoshops AI, this is quite easy to do.
1) Copy the Layer: Start by making a copy of your layer with Command + J.
2) Select the Subject: Press W to use the selection tool, then click the "Select Subject" button in the top toolbar. Photoshop's AI should do a good job here.

3) Create a Layer Mask: With your selection active, head down to the bottom right and hit the layer mask icon. This will create a layer mask and separate our subject from the background.

Step 2: Duplicate and Modify the Background Layer
Next, we need to prepare the background for the motion blur effect.
1) Duplicate the Background Layer: Make a copy of your background layer.
2) Select the Subject Mask: With the new background layer selected, hover over the layer mask we created of the subject. Hold down Command (or Control on Windows) and click the layer mask. This will make a selection of the subject.
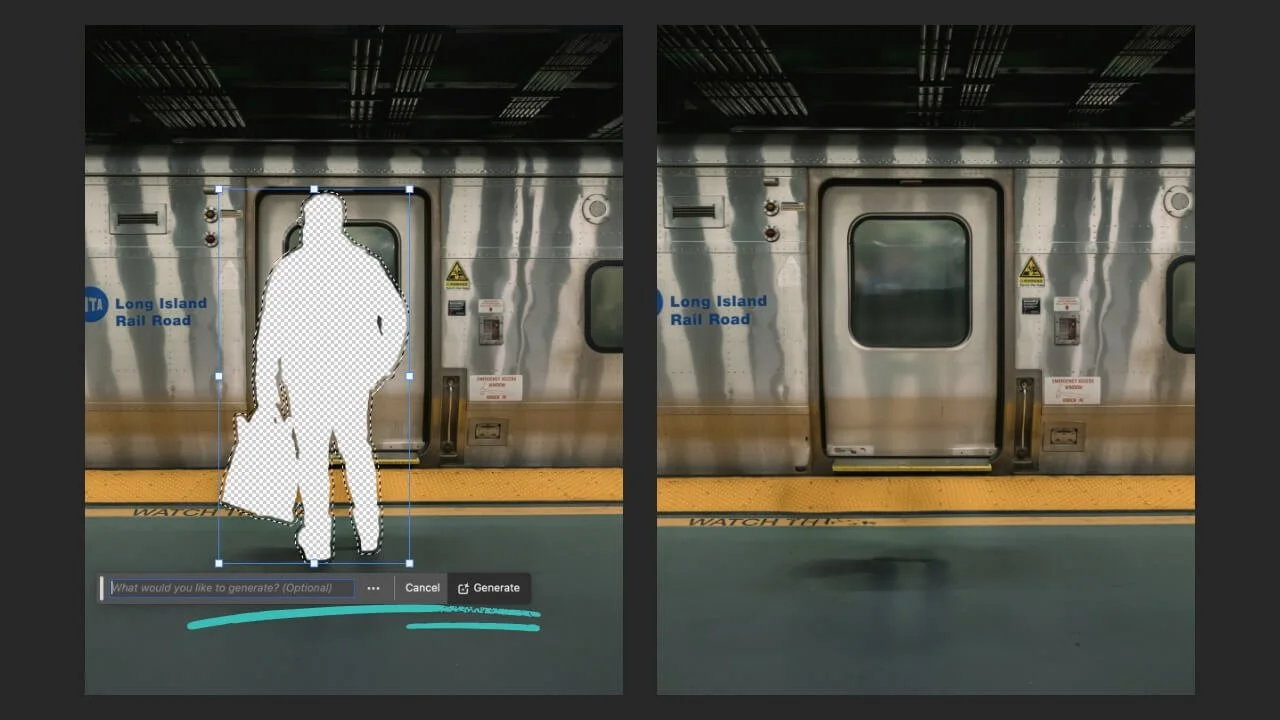
3) Delete the subject: Use the selection to delete the subject from the background layer.
4) Expand the Mask: Go to Select > Modify > Expand and set the expansion to 20 pixels. This gives enough space for the generative fill to work with.

5) Use Generative Fill: Click into the generative fill box at the bottom and hit "Generate" without typing anything. Photoshop will fill in the background seamlessly. Choose the best variation from the right-hand side.
Step 3: Merge the Layers
Now we need to merge the layers to apply the motion blur.
1) Merge New Layers: Select the top layer and hide anything you don’t want to be included. Use the shortcut Command + Option + Shift + E to create a new layer with everything included in it.
2) Tidy Up Layers: Organize your layers so you can see what you’re working with clearly.
Step 4: Add Motion Blur
Here’s where we create the illusion of a moving train.
1) Copy the New Background Layer: Make a copy of the new background layer with Command + J.

2) Select the Train Area: Use the Lasso tool (L on your keyboard) to select the area of the train.
3) Add a Layer Mask: With the selection made, add a layer mask to this layer.

4) Convert to Smart Object: Convert this layer to a smart object to ensure any effects we apply are non-destructive.

5) Apply Motion Blur: Go to Filter > Blur > Motion Blur. A box will pop up allowing you to change the angle and distance of the blur. Keep the angle at 0 degrees for a natural train movement. Adjust the distance to your preference. I suggest starting with a high value like 2000 and then fine-tuning. I settled on 500 for a natural look.


Step 5: Final Touches
To finish up, we’ll tidy up any areas that need fixing.
1) Reduce Opacity: Select the original, unedited background layer and reduce the opacity to around 80%. This allows you to see the original image and make adjustments.
2) Clean Up: Use the Brush tool with white as the foreground colour to paint over areas that need fixing, such as the hands and the string from the coat. Use a small hard brush for precision.
3) Adjust Transparency: For transparent elements like glasses, set your brush to 50% opacity to maintain the see-through effect while still making corrections.
Step 6: Before and After
Finally, add any adjustments you feel are necessary, and you’re done!

Here’s the before and after comparison. This process can be applied to many different images, and they all follow a similar workflow. If you have any questions, drop them in the comments below. Thanks for reading, and have a wonderful day!
By following these steps, you can easily add realistic motion blur to your photos in Photoshop. This method saves time and hassle compared to capturing the effect in-camera and works well even in busy environments.
If you found this helpful or have any questions, drop them in the comments below.
Happy editing!